1Cutting
This activity develops good hand-eye coordination, dexterity and of course, muscle strengthening. The correct hold of the scissors helps the child with his pencil grip. All we need for this activity are child-size scissors and different kinds of papers.
The teacher has to make sure that the scissors are held correctly, (with the thumb up) and their size fits the child’s hand.
Vary the paper (newspaper, wrapping paper, wallpaper, crape paper, magazines, construction paper, etc.) as for each, the child has to apply different pressure to the scissors. This activity is done in stages as I’ve seen most of the teachers do; increasing the difficulty as the child gains the ability to perform the task.
The stages are: snipping, fringing, cutting strips, cutting following a line, and cutting shapes.
Each child needs his own time with a stage before trying a new one; it could be days for some or weeks for others.
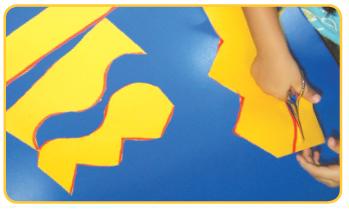
Use safe, plastic scissors first and when the child understands the rules of safety, he can have the metal scissors under supervision. Try the scissors with different edges (zigzag, undulated,) for projects.
Activity A:
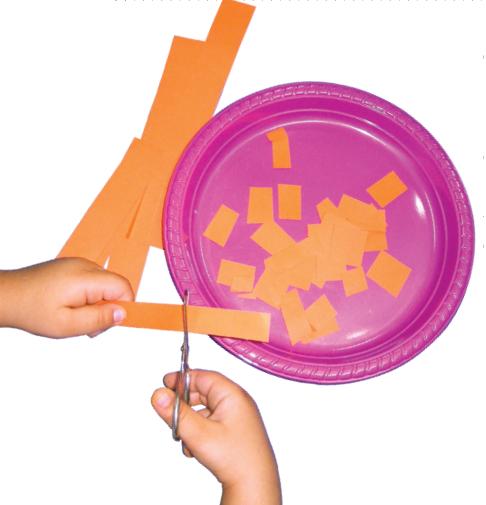
SNIPPING
Provide the child with shredded or strips of paper of 2-3 cm in width. The child tries to cut the paper in one snip from one end to the other. Keep the cuttings to decorate the bulletin board or for any future art projects. The corners of a piece of paper can be cut easily in one snip as well.
Activity B:
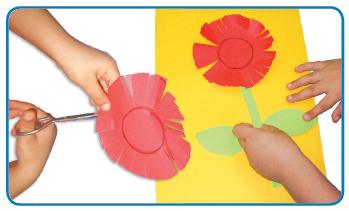
FRINGING
Give the child construction paper to fringe along the margins in consecutive snips.
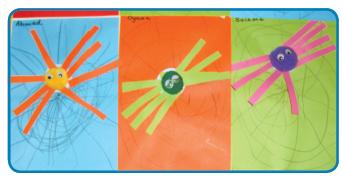
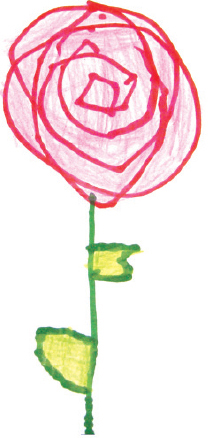
Have shapes to fringe and use them for projects (yellow circle for sun, red circle for flower, green rectangle for grass, etc).
Activity C:
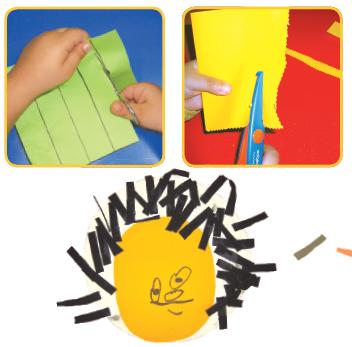
CUTTING STRIPS
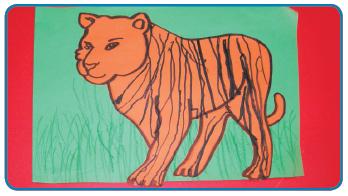
The teacher draws lines on construction paper – short, straight ones first – and shows the child how to cut strips. Increase the length progressively. Give the child scissors with different kinds of edges. Use the strips to decorate projects (zebras, tigers, clothes, umbrellas, etc.).
Activity D:
CUTTING FOLLOWING A LINE
Draw different kinds of lines on the paper for the child to cut. Start with straight lines, then curved, zigzag, undulated, lines with a variety of angles, etc.
Activity E:
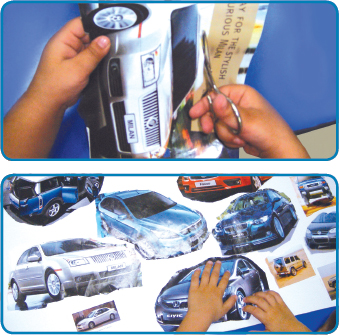
CUTTING SHAPES
-When the child can do all the previous activities, he’ll find it easy to cut out shapes from the paper or magazines. (Ex: Ask the child to cut all the cars from the magazines and do a collage).
2Prewriting 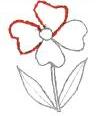
Prewriting exercises are excellent for developing and improving an efficient pencil grip and hand control in general. Here are some activities for the children:
Activity A:
SCRIBBLING
Give the child paper, crayons, markers and pencils just to scribble. Show the child how to hold the pencil with the correct fingers: thumb, index and middle fingers. When the grip is good, give a purpose for the scribbling, like drawing a web for a spider.
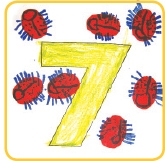
With a thick marker, ask the child to make stripes on a tiger or a bee cut-out. Display the work on a place where the child can see it and show his friends and parents.
Activity B:
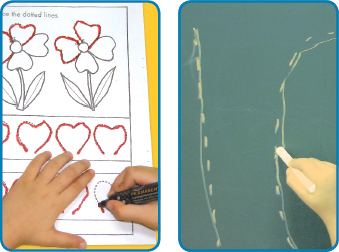
FOLLOW THE DOTS
Print some nice drawings for the child to join the dots. Provide some round markers or highlighters to use for this; it’s easier for the child to hold, and he enjoys the bright colors. Decrease the size of the dots, drawings and markers according to the child’s ability. Make sure, while tracing or joining the dots that it is done in the proper way: left to right and top to bottom.
Activity C:
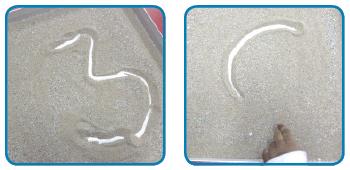
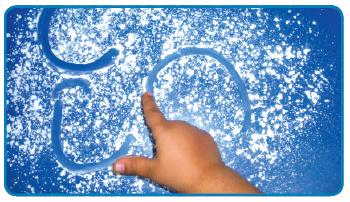
TRACING, FINGER TRACING
Let the child trace all kind of shapes, letters, numbers, etc. on different textures: blackboard, a tray of sand, baby powder, on a flat surface, the back of a friend, the table, on foam (they really like this) and so on.
The teacher writes a big letter, number, etc, on the blackboard or on the pavement and the child can trace over it as many times as he wants. Encourage him to try to write the same thing free-hand next to the teacher’s.
Give the child some finger paint to trace over a letter, shape, number, etc.
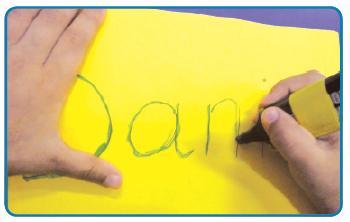
Write the child’s name, letters or numbers with a highlighter and ask him to trace over it with a pencil.
Activity D:
STENCILS
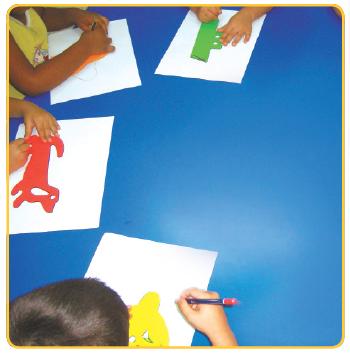
The child can trace around the stencil, holding it with the non-dominant hand. Start with big stencils; if the child finds difficulty in holding it, stick it on the paper with tack or tape (or hot glue a handle). Progressively use smaller stencils with more details.
Activity E:
TACTILE AWARENESS
Here are some easy games to play with the kids:
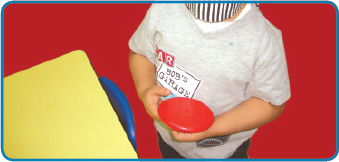
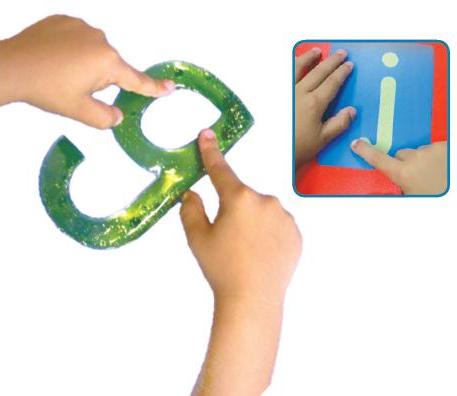
Blindfold the child and give him some 3D shapes: numbers, letters, geometrical shapes, etc; let him touch and try to guess what it is.
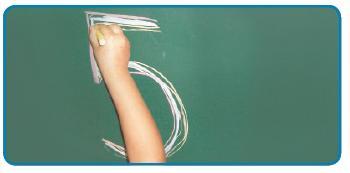
Write on the blackboard with chalk a letter, number, etc. Ask what it is and if the child answers correctly, let him erase it with a damp sponge following the lines.
Use gel or sand paper numbers and letters for finger tracing.
Activity F:
COLORING AND DRAWING
This is an enjoyable exercise for children because most of them like to draw and color. However, the teacher must observe, explain, show and reward the child for accuracy, spacing, neatness and completion. Provide the kids with increasingly smaller writing tools.
When teaching the letters, start with the ones which involve similar strokes (c, o, a, d, p, q, etc) moving from simple ones to the more complicated.